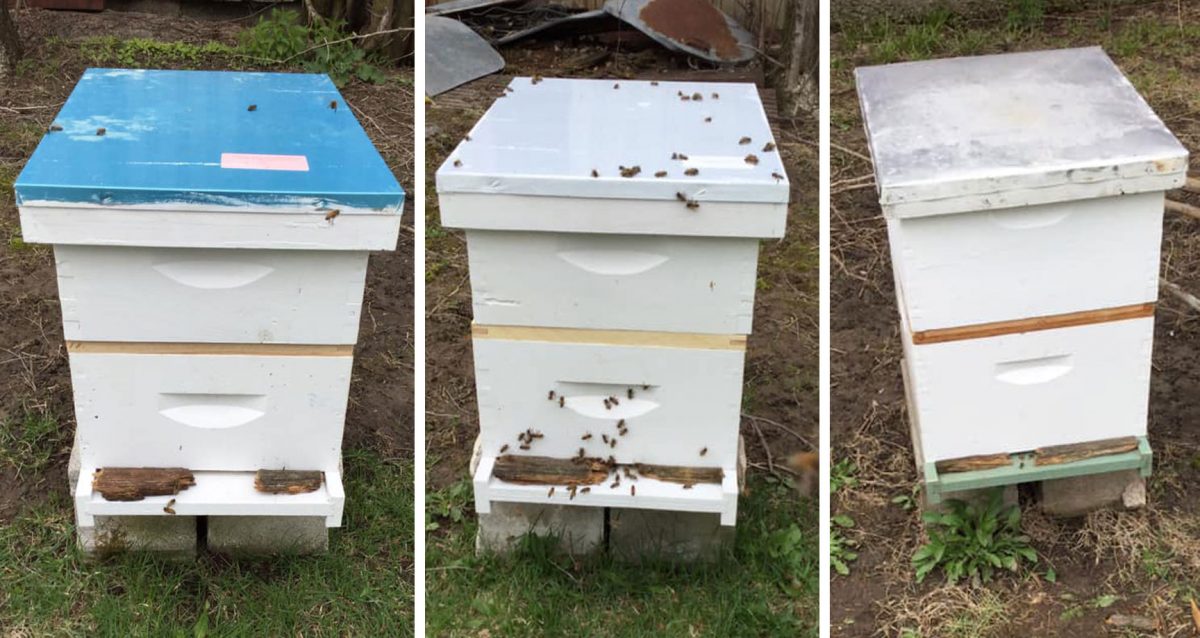
This year I have had the opportunity to expand my beehives to a new location. So what all goes into setting up new hives? First I need to find a suitable location. This new location is must have a windbreak from the south, available forage(pollen, nectar, and water) within a 2-3 mile radius, decent sunlight, and accessibility for the beekeeper.
Once I have a location, I get it ready for the hives to be installed. First I clear out the area of any brush or fallen branches. Then I place my hive stands. Some people use wood stands, but I use two cement blocks. When I am setting up the stands I angle them forward a little bit so when it rains, the water would run off the bottom board instead of into the hive.
Once I have the location all ready I began the process of creating new nuc (a 5 frame nucleus hive that includes brood, honey, pollen, and a queen). There are several ways to do this. I could either create a new hive from a swarm I caught, or by splitting a strong hive I already have set up. I chose to split up a stronger hive to make these two new nucs.
It was also beneficial, because the hive I chose to split already had queen cells in it. So I used them in the nucs, instead of purchasing a new queen for each nuc. This process takes a little longer, usually about three weeks to go from cells to queens laying eggs, but it saves money and uses resources that I already have! Once I saw that the new queens were laying eggs in the nuc and it was strong, I got ready to install them in their hives at the new location.
When moving a hive from one location to another you have to do it early morning or late evening so that most of the bees are at home. The morning I moved the hives I got up early and went and sealed up the boxes so that bees can’t fly out, put them in the back of my truck and transported them to their new location. Once at the new location I put them on the stands, unsealed the boxes, and they were ready to go!

